uniapp利用内置组件live |
您所在的位置:网站首页 › live 视频 › uniapp利用内置组件live |
uniapp利用内置组件live
|
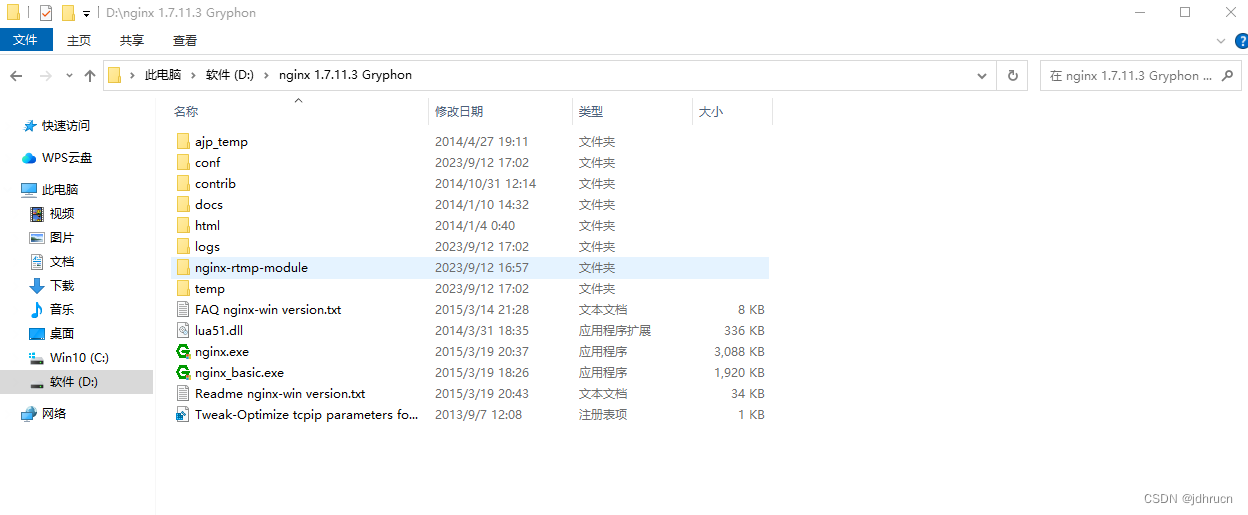
一.视频功能的介绍:视频聊天功能怎么实现呢? 我做这个功能时,第一个想到的就是这个跟直播功能没啥区别。都是利用推流工具把视频流推送到流媒体服务器,然后在利用拉流软件拿到视频流进行播放。 二.实现方案 1.首先我查了uniapp官方文档,他们给我们内置了一个live-pusher组件,专门用来进行推流。如果是app端拉流直接用video组件,微信小程序就得用live-player。 推流代码html部分: 暂停推流 resume 停止推流 快照 开启摄像头预览 关闭摄像头预览 切换摄像头推流代码js部分: export default { data() { return { context:'', } }, created() { // 注意:需要在onReady中 或 onLoad 延时 this.context = uni.createLivePusherContext("livePusher", this); }, methods: { waTing(e){ console.log(e) }, playState(e){ console.log(e) }, controlee(e){ console.log(e) }, statechange(e) { console.log("statechange:" + JSON.stringify(e)); }, netstatus(e) { console.log(e); if(e.detail.info.videoFPS!=0){ this.videoSrc='rtmp://192.168.1.70:1935/live/sss' this.TimeYanChi=4 }else{ this.videoSrc='' } }, error(e) { console.log("error:" + JSON.stringify(e)); }, start: function() { this.context.start({ success: (a) => { console.log("livePusher.start:" + JSON.stringify(a)); }, }); }, close: function() { this.context.close({ success: (a) => { console.log("livePusher.close:" + JSON.stringify(a)); } }); }, snapshot: function() { this.context.snapshot({ success: (e) => { console.log(JSON.stringify(e)); } }); }, resume: function() { this.context.resume({ success: (a) => { console.log("livePusher.resume:" + JSON.stringify(a)); } }); }, pause: function() { this.context.pause({ success: (a) => { console.log("livePusher.pause:" + JSON.stringify(a)); } }); }, stop: function() { this.context.stop({ success: (a) => { console.log(JSON.stringify(a)); } }); }, switchCamera: function() { this.context.switchCamera({ success: (a) => { console.log("livePusher.switchCamera:" + JSON.stringify(a)); } }); }, startPreview: function() { this.context.startPreview({ success: (a) => { console.log("livePusher.startPreview:" + JSON.stringify(a)); } }); }, stopPreview: function() { this.context.stopPreview({ success: (a) => { console.log("livePusher.stopPreview:" + JSON.stringify(a)); } }); } } }js代码的方法都是uniapp官方提供的,用来控制推流的。大家可以去官网看看。 这样我们的单项视频聊天就实现了,要想实现双向的,就重复上面的操作,再建一个组件进行推流和拉流就可以了。 2.当我们把前端页面搭建之后,就得考虑到推流的视频流放在哪里,拉流从哪里拉到视频流。 这就得搭建我们自己的流媒体服务器了。 3.怎么搭建流媒体服务器 网上有很多的搭建流媒体的软件。我这里用的是nginx搭建的流媒体服务。从网上下载nginx服务器 Index of /download/ 因为不是所有的nginx服务器都支持rtmp流的,在下载页面中下载 nginx 1.7.11.3 Gryphon.zip 压缩包然后在下载nginx-rtmp-module模块,上网搜一下地址就可以下载了。 下载完之后解压到nginx的目录下
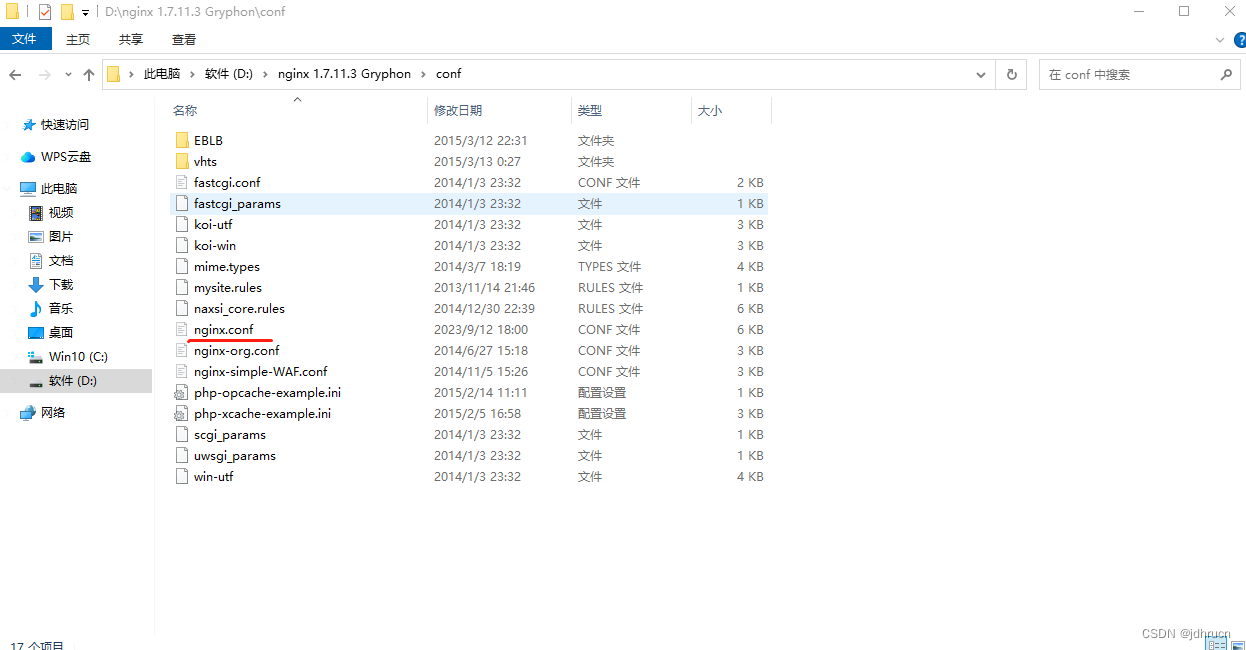
完成上面的操作之后,就可以配置我们的nginx了,找到nginx.conf文件。(提醒一下,在conf文件夹内,可能没有nginx.conf文件。但是有其他带有conf的文件,把其中一个文件改成nginx.conf就行)
打开nginx.conf文件,在http代码上面添加如下代码: rtmp { server { listen 1935;#监听端口,若被占用,可以更改 chunk_size 1000;#上传flv文件块儿的大小 application live { #创建一个叫live的应用 live on;#开启live的应用 allow publish 127.0.0.1;# allow play all; } } }到这一步我们用nginx搭建的流媒体服务就可以启动了。
点击nginx.exe启动我们的服务。然后在live-pusher输入我们的rtmp地址就行自己电脑的ip地址加上配置好的端口 1935( http://192.168.1.12:1935/live/exp)标红的是我的电脑ip。 video的地址也是一样的 http://192.168.1.12:1935/live/exp。 这样就完成啦。 |

【本文地址】
今日新闻 |
推荐新闻 |